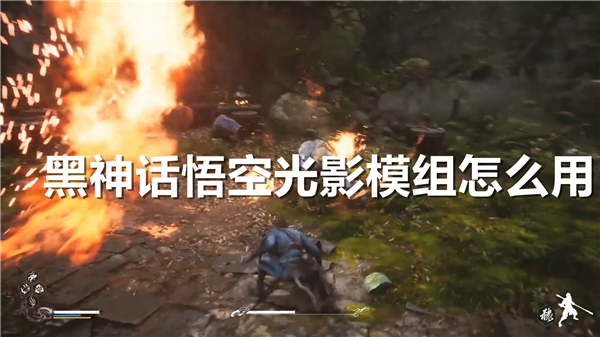
黑神话悟空光影模组下载pc版安装为玩家提供了一套完整的视觉优化工具,专门针对8位无HDR显示器进行了色彩调整。黑神话悟空光影模组包含SDR修复、色彩饱和度、光线效果调节和对比度增强等功能,有效提升游戏画面的色彩鲜艳度和光影效果,而几乎不影响游戏的帧率或性能。
黑神话悟空光影模组下载pc版安装为玩家提供了一套完整的视觉优化工具,专门针对8位无HDR显示器进行了色彩调整。黑神话悟空光影模组包含SDR修复、色彩饱和度、光线效果调节和对比度增强等功能,有效提升游戏画面的色彩鲜艳度和光影效果,而几乎不影响游戏的帧率或性能。
PC版链接:>>>黑神话悟空光影模组下载链接<<<
提取码: 9rmb
--------------------------------------------------------------------------------------------------------------------------------------------------------
对于在144Hz显示器上运行的游戏,该模组尤其有用,可以解决游戏画面出现灰色或色彩不足的问题,确保玩家在普通显示模式下也能享受逼真的视觉效果。如果发现游戏画面偏灰或颜色缺乏,使用该模组将显著改善画质,带来更丰富的色彩表现。
1、点击黑神话悟空光影模组PC版链接,或复制链接后在浏览器中打开。
2、输入提取码,进入网盘即可开启黑神话悟空光影模组安装包。
3、点击下载,将模组下载至设备上。
1、将reshade文件复制到游戏文件夹SteamsteamappscommonBlackMythWukongb1BinariesWin64中。
2、如果文件夹不同,请仔细检查。玩家可以下载所有4个预设文件,并在游戏中来回切换。
3、这样,玩家可以选择最喜欢的那个。建议使用V1或V3,以获得最佳效果。
4、将Reshade安装到游戏文件夹时,单击取消全选,然后选择所有着色器。
5、推荐的reshade设置: 在设置菜单中仅加载启用的效果并使用性能模式。
选择重新着色预设V1、V3 或V4以在游戏中使用,然后选择,如果您要在游戏中使用AMD FSR,则渲染质量为100设置。
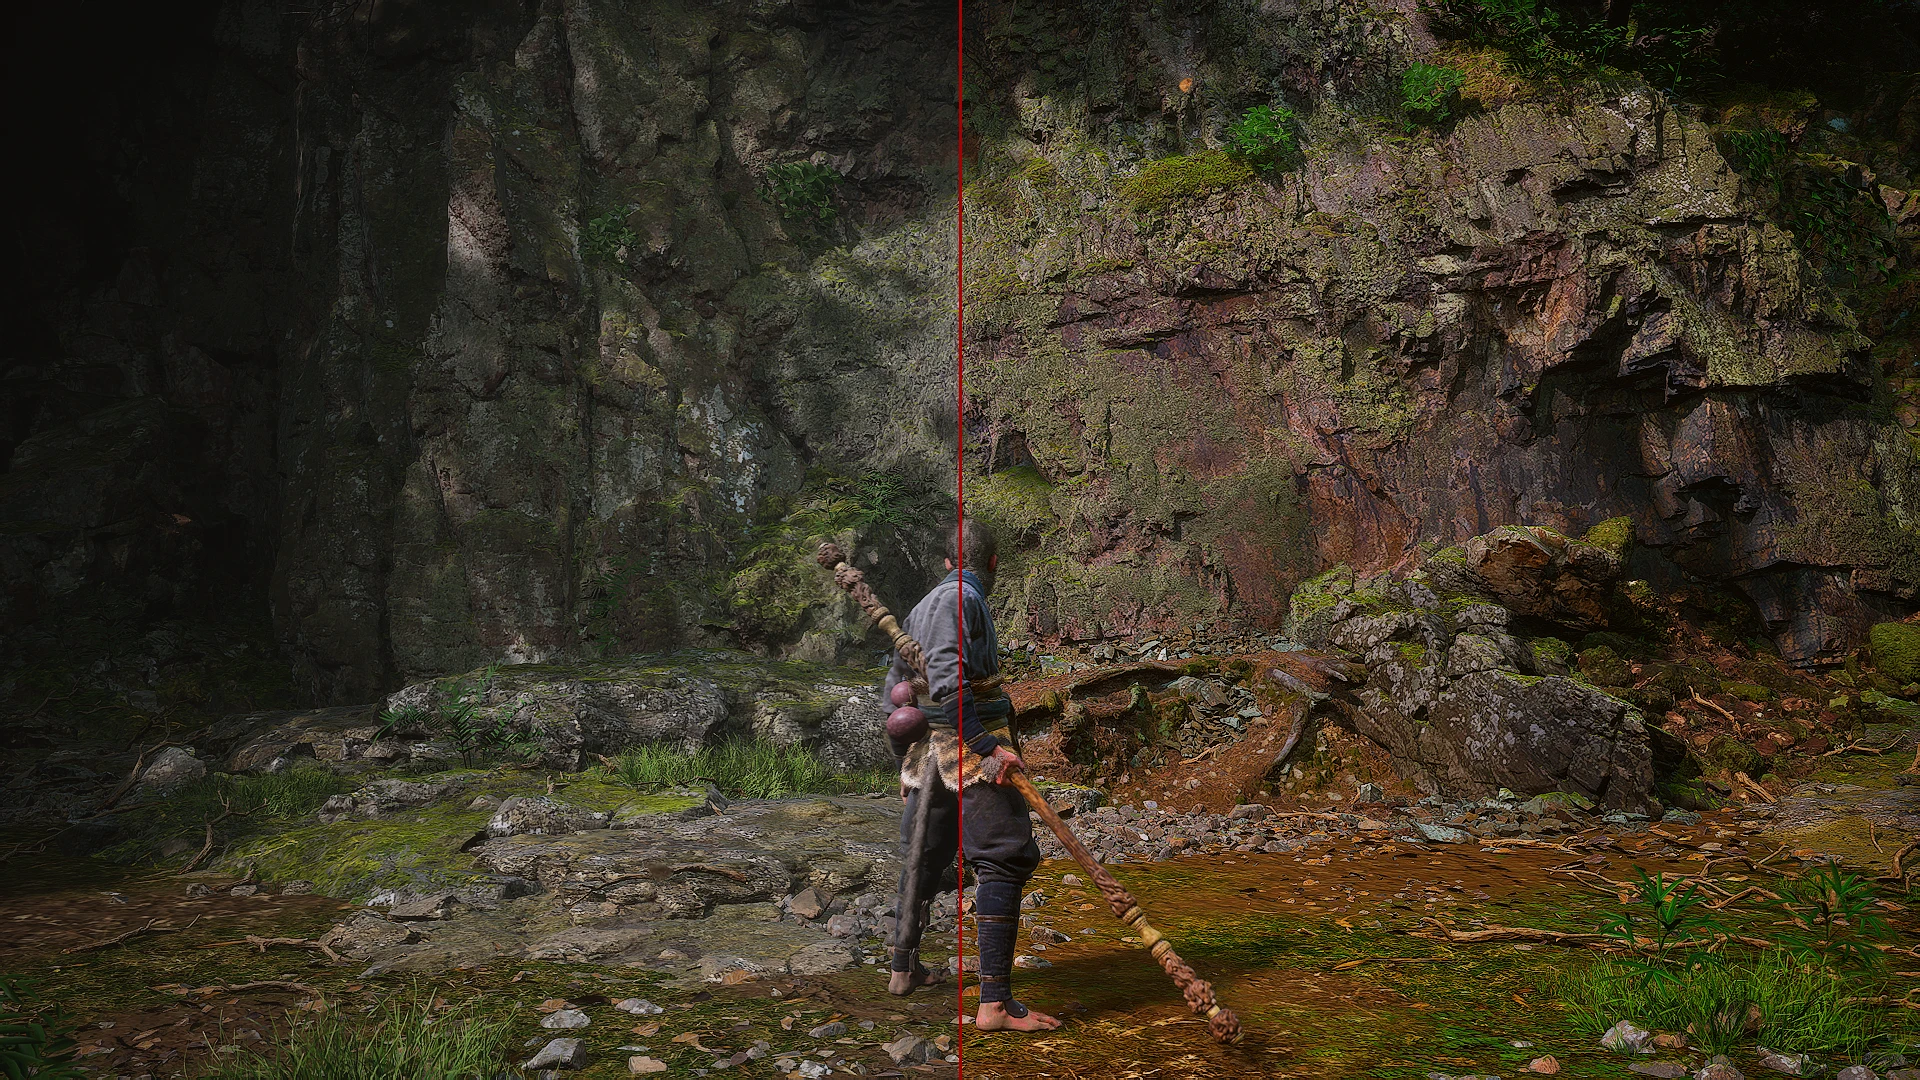
所有屏幕截图均在启用FSR和渲染质量100的情况下完成的。V1具有伽玛修复、色彩增加和纹理锐化。V2与V3相同,但中间有一条红线,并且重新着色效果在一帧中打开和关闭。这可用于创建您自己的重新着色预设。V3与上面相同,但游戏内晕影效果被禁用。V4仅具有纹理锐化。
游戏中的某些区域太亮,也称为白色粉碎。将使用自定义着色器、liliums SDR 和 HDR 修复。SDR修复适用于8位显示器,HDR修复适用于10位显示器。此预设是使用SDR修复制作的,如果使用的是10位显示器,请将 SDR 着色器更改为HDR着色器。
仅限V3使用lilium__sdr_trc_fix.fx 并将其用作重新着色着色器列表中从上方开始的第二个着色器,位于反锐化着色器下方。将sdr 着色器放在锐化着色器上方,帧有点太亮了。
Reshade V1 - 更多颜色和锐化
1、Lilium__sdr_trc_fix.fx:伽马修复着色器,用于消除黑色压缩
2、Colourfulness:高色彩增加到值0.96,如果您喜欢更多或更少的色彩,请重新调整
3、Lightroom:使用红色曝光值-0.900减少红色发光颜色
4、AMD CAS:纹理锐化
Reshade V2 - 创作者预设,用于制作新的重新着色预设
1、Unsharp:晕影去除和纹理看起来不同,更好
2、Lilium__sdr_trc_fix.fx:伽马修复着色器,用于消除黑色压缩
3、Colourfulness:高色彩增加到值 0.96,如果您喜欢更多或更少的色彩,请重新调整
4、Lightroom:使用红色曝光值 -0.900 减少红色发光颜色
5、AMD CAS:纹理锐化
6、之后、之前:比较左侧和右侧,中间有一条线
注意:与下面的V3游戏文件相同的预设,但是效果在一帧内关闭和打开。玩家可以重置使用的着色器效果,并在着色器列表中的“前后”着色器之间放置新效果,以便与中间的红线比较一帧内的效果打开和关闭。在左侧,效果将关闭,在右侧,效果将打开。
Reshade V3 - 伽马修复,更少的阴影,禁用晕影,更多色彩和锐化
1、Unsharp:晕影阴影去除和纹理看起来不同,更好
2、Lilium__sdr_trc_fix.fx:伽马修复着色器,用于摆脱黑色粉碎
3、色彩度:高色彩增加到值 0.96,如果您喜欢更多或更少的颜色,请重新调整
4、Lightroom:使用红色曝光减去 -0.900 值减少红色发光颜色
如果不喜欢它,请禁用lightroom,但请记住它修复了红色辉光和火焰较多的地方周围的红光
5、AMD CAS:纹理锐化
注意: 如果您进入一个所有东西都在发光的区域,并且重新阴影增加了辉光,那么只要您在这个区域,就关闭重新阴影。
Reshade V4 - 锐化
1、AMD CAS:纹理锐化
HDR和SDR Lilium的伽马修复着色器针对8位和10位显示器的解释:
lilium SDR着色器必须是列表中的第二个。
对于10位HDR显示器,您需要使用Lilium的HDR黑色地板修复,而不是Lilium的SDR 8位显示器伽马修复。
8 位显示器 = SDR伽马修复
10位显示器 = HDR伽马修复
在好的电脑上将最高设置最大化。在普通电脑上使用推荐设置,但使用低后期处理来禁用景深。
窗口模式:全屏
分辨率:最大
渲染比例:100%
Vsync:开启
FPS 最大:60
显示器校准:标准伽马值 50
AMD FSR:开启,渲染质量值100
1、始终使用全屏模式以获得最佳性能。窗口模式或全屏窗口模式的性能会降低。
2、如果PC在玩这个游戏时声音很大,只需使用fps限制60或启用vsync。
3、使用AMD FSR图形质量会略有降低,但fps会大幅增加。
4、启用FSR后,游戏可能会获得像素化的过度锐化视图,因此我建议使用渲染质量100。
Dillas Black Myth Wukong - AMD CAS and Color Reshade
----------------------------------------------------------------------------------------------------------------------------------------------------------------------------------------------------
Added lilium__sdr_trc_fix, colourfulness, lightroom and amd cas.
Almost no fps / performance loss.
Color reshade made for 8 bit monitors without HDR.
If your game is grey and milkwhite, take a look at the screenshots please.
----------------------------------------------------------------------------------------------------------------------------------------------------------------------------------------------------
Playing this game on a 60 hz monitor the game should be colorfull and probably no need for a color reshade !
This reshade is made for 144 hz monitors using standard monitor mode, where some games are grey and have no colors, maybe the icc monitor profile get ignored ?
----------------------------------------------------------------------------------------------------------------------------------------------------------------------------------------------------
Description: Choose a reshade preset V1, V3 or V4 to use ingame and then choose, if you are going to use AMD FSR ingame, on render quality 100 settings.
All screenshots are done with FSR enabled and render quality 100.
V1 has gamma fixed, color increased and texture sharpening.
V2 same as V3 but with a red line in the middle and the reshade effect is on and off in one frame. This can be used to create your own reshade preset.
V3 same as above but the vignette ingame effect is disabled.
V4 has texture sharpening only.
Some areas in the game are way to bright also known as white crush. We gonna use a custom shader, liliums SDR and HDR fix. SDR fix for a 8 bit monitor and the HDR fix for a 10 bit monitor. This preset is made with the SDR fix and if you are having a 10 bit monitor change the SDR shader into the HDR shader.
V3 only* Using the lilium__sdr_trc_fix.fx and use it as 2nd shader from above in the reshade shader list, below the unsharp shader. Putting the sdr shader above the unsharp shader, the frame is a little bit too bright.
https://github.com/EndlesslyFlowering/ReShade_HDR_shaders/tree/master/Shaders
Update: Reshade version 6.2.0 has the lilium shaders added, so there is no need to download them manually.
----------------------------------------------------------------------------------------------------------------------------------------------------------------------------------------------------
Reshade V1 this is the one im using for my playthrough
gamma fix, more color and sharpening:
1st Lilium__sdr_trc_fix.fx: Gamma fixing shader, for getting rid of the black crush
2nd Colourfulness: high color increase at value 0.96, re adjust if you like more or less color
3rd Lightroom: for reducing red glowing colors using red exposure value -0.900
4th AMD CAS: texture sharpening
Reshade V2
creators preset, for making new reshade presets:
1st Unsharp: vignette shadow removal and textures look different, better
2nd Lilium__sdr_trc_fix.fx: Gamma fixing shader, for getting rid of the black crush
3rd Colourfulness: high color increase at value 0.96, re adjust if you like more or less color
4th Lightroom: for reducing red glowing colors using red exposure value -0.900
5th AMD CAS: texture sharpening
6th After Before: compare left and right side, with a line in the midlle
The same preset as the V3 gameplay file below, but the effects are off and on in one frame !
Note* You can reset the used shader effects and put new effects between the "before after" shader in the shader list for comparing the effects on and off in one frame with the red line in the middle. On the left side the effects will be off and on the right side, the effects will be on.
Reshade V3
gamma fix, less shadows, vignette disabled, more color and sharpening:
1st Unsharp: vignette shadow removal and textures look different, better
2nd Lilium__sdr_trc_fix.fx: Gamma fixing shader, for getting rid of the black crush
3rd Colourfulness: high color increase at value 0.96, re adjust if you like more or less color
4th Lightroom: red glowing color reduced using red exposure minus -0.900 value
Disable lightroom, if you don't like it, but keep in mind it's fixing red glow and the red light around places with a lot of fire
5th AMD CAS: texture sharpening
Warning very important: If you enter an area where everything is glowing and the reshade increases the glow, turn the reshade off as long as you are in this area.
Reshade V4
sharpening only:
1st AMD CAS: texture sharpening
----------------------------------------------------------------------------------------------------------------------------------------------------------------------------------------------------
HDR and SDR Lilium's gamma fix shader explained for 8 and 10 bit monitors:
The lilium SDR shader has to be the 2nd in the list, as you can see in the picture below. Without the unsharp effect, it can be on top in the list.
For a 10-bit HDR monitor, you need to use the Lilium's HDR black floor fix, instead the Lilium's SDR 8-bit monitor gamma fix !
8-bit monitor = SDR gamma fix
10-bit monitor = HDR gamma fix
Here is a video about the HDR gamma fix, reshade can be seen at 4 min 7 se
Install: Copy the reshade files into the game folder SteamsteamappscommonBlackMythWukongb1BinariesWin64 Doublecheck, if your folder is different. You can download all 4 preset files and switch between them forth and back ingame. This way you can choose the one you like the most. V1 or V3 is recommended, for the best results.
When installing Reshade into the game folder, click on unselect all and then select all shader.
Recommended reshade settings: Load only enabled effects in the settings menu and use performance mode.
 爱问云手机版下载安装-爱问云手机安卓版下载v5.53.259最新版
 77进度app下载安装-77进度app最新版下载v1.2.20安卓版
 桌面番茄时钟app下载安装-桌面番茄时钟app安卓版下载v1.1.8最新版
 备忘录记事本旧版本下载安装-备忘录记事本(笔记记录软件)旧版本下载v11.9.59安卓版
 新知卫星地图手机版下载安装-新知卫星地图(历史影像)手机版app下载v4.4.0最新版
 慢活健康助手安卓手机版下载安装-慢活健康助手(饮食管理)app下载v2.8.0最新版
 台风路径查询软件手机版下载安装-台风路径查询(实时路径)app下载v1.5.2安卓版
 电池虚电修复app下载安装-电池虚电修复(手机电池检测)app安卓版下载v1.0.3最新版
黑神话悟空光影模组怎么用?黑神话悟空光影模组为玩家提供了一整套视觉优化工具,特别适用于8位无HDR显示器。这个模组的设计旨在对游戏画面进行色彩调整和光影优化,提升游戏的视觉体验,确保画面更加鲜艳、生动,同时对性能影响最小化。
2024-08-23 10:02

 黑神话内置mod修改器中文版
 黑神话悟空全新MOD整合包
 黑神话悟空全图筋斗云mod
 黑神话悟空赛马娘法杖模组
 黑神话悟空解决SPF低性能卡顿mod
 黑神话悟空猴毛召唤BOSS友军mod
 无他相机下载
 语音输入法app
 洛雪音乐助手